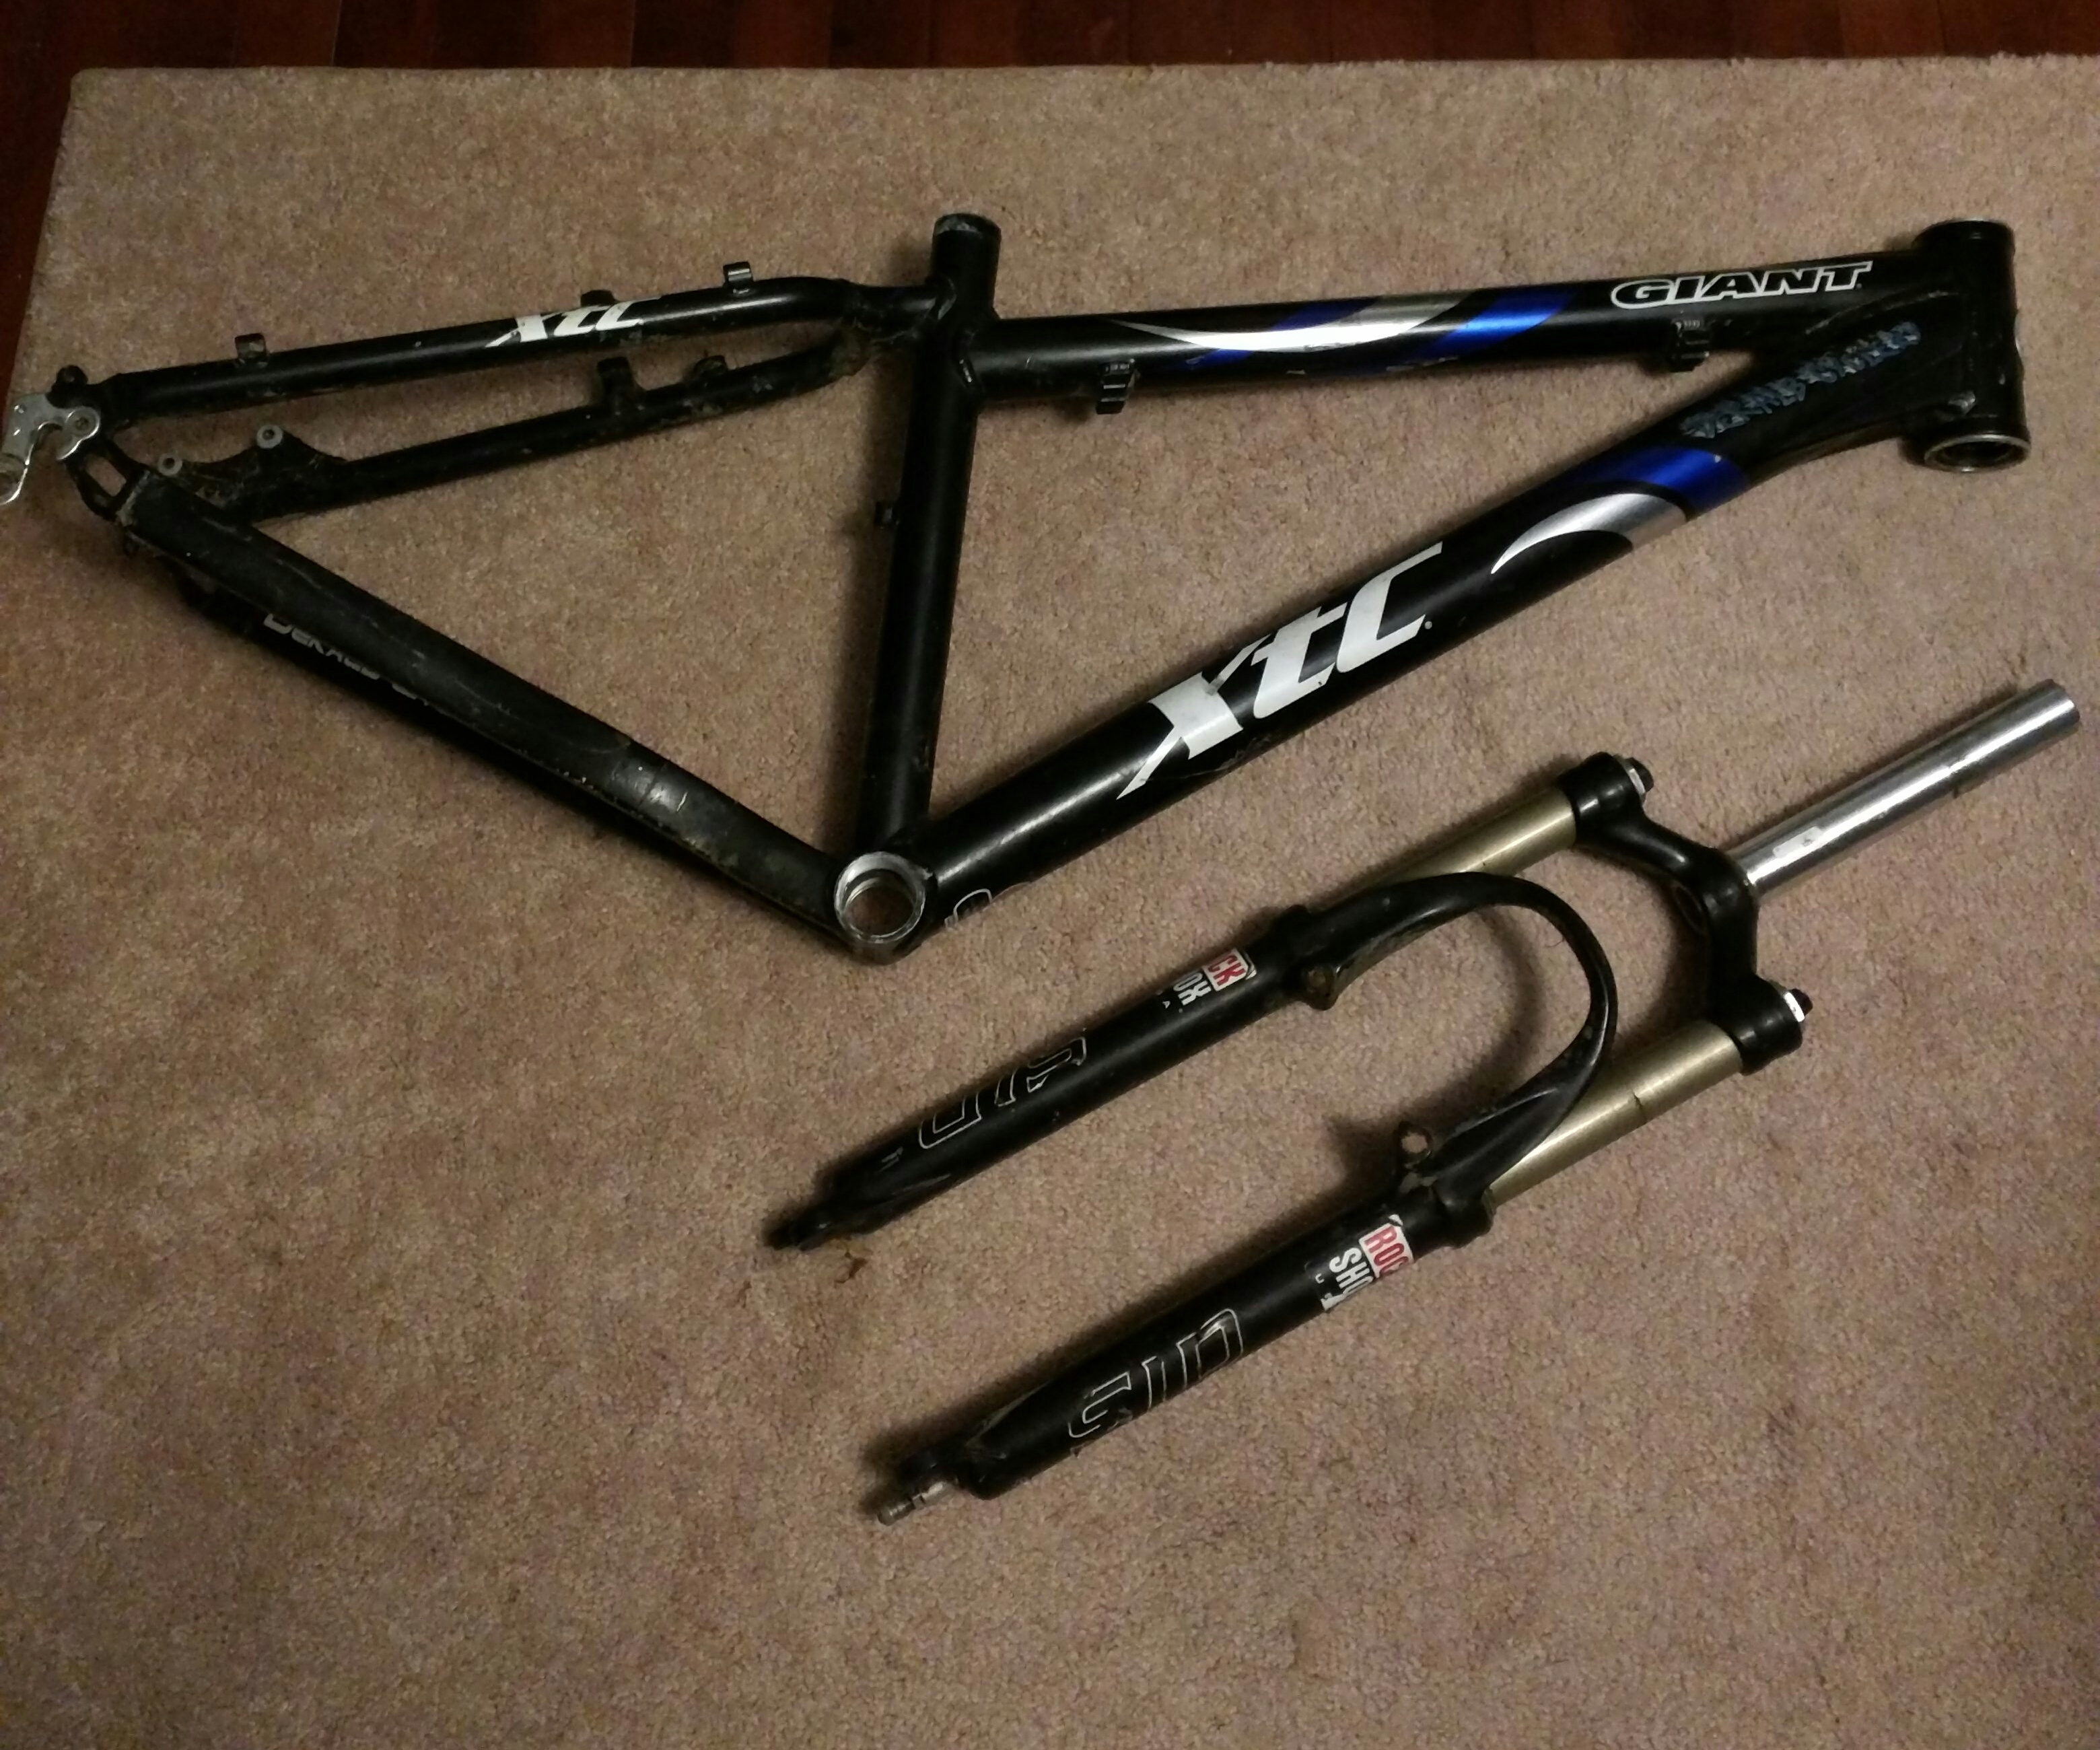
XTC reassembly started

The stem bolts, all 5 of them, were a little rusty.  Profile Designs made the stem but they told me that the stem had been discontinued and that replacement bolts weren’t available.  So I decided to try evaporust on them.

After a few hours in evaporust, the stem bolts look much better.

Started assembly on The XTC.  The fork is back into the frame, headset preload is adjusted, and tightened things up.  Handlebars are on and tight.  Installed the front and rear wheels.  Hey!  it rolls now.  Much better than dragging it around.

Put the seatpost bolts and clamp in evaporust – they are really rusty.

The new BB wrench I bought does not fit the cups.  Rats.  I guess a trip to Bikes and Moore in Hoptown will be on the agenda.

The seatpost bolts are looking better, but they are a little rough.  On the plus side, you can’t see them once the saddle is on so I’m not going to worry about it too much.  Planning to use the Fizik saddle on the XTC.

Stay tuned.

Inaugural Tobacco and Bourbon Tour – UPDATE – other things to do

I just found out that the American Quilter’s Society is having their Spring show in Paducah, KY April 18-21, 2018. If your spouse has any interest in quilting, or just would enjoy seeing some amazing craft work, my wife says it is not to be missed.

She will be at the Quilt Museum, so I guess that means she won’t be helping with SAG support.  I’ll be on the bike on Saturday, but having options for spouses/SOs is always a good thing.

Information on Quilt Week is available here.

Inaugural Tobacco and Bourbon Tour – April 21-22, 2018

Saturday, April 21 – We will meet at the Golden Pond Visitor Center at 9am for a meet and greet.  There isn’t a lot of room to park here, so please try to park away from the Visitor Center doors if possible.  A buddy inspection of the bikes will start at 9:30am – we’ll draw names.  I’m pretty confident that our bikes will be in top shape, so this is a great opportunity to meet other riders and their bikes.  I will have some repair/adjustment tools, chain lube, floor pump, and some spare tubes and patches.  Hopefully no major repairs will be needed before (or after, for that matter) the ride.  The plan is to head out around 10am.

I’ve mapped a route that is all paved. We can’t safely ride across the 68/80 bridge over Lake Barkley as the bike/walk lane isn’t finished. The new bridge over Kentucky Lake has a dedicated bike/walk lane so I updated the route to use that bridge. This route starts and ends at the Golden Pond Visitor Center, is about 54 miles with 2300 feet of climbing along the way. About halfway, we are in Grand Rivers, where there are a couple of places for drinks and snacks.  You can see them from the Trace.

We are planning a cookout after today’s ride.  LBL does not allow alcohol, and the Barkley Lodge pavilion is reserved.  We’ll just have it at my house.  It’s easier that way as I can just leave everything is the fridge/freezer at home and not have to haul it to the Lodge.

RideWithGPS route

Cue Sheet

If folks are up for it, on the way through Aurora we could stop at the LBL Moonshine distillery to sample some ‘shine. Might have to rename this to the Moonshine and Tobacco Tour, though.

LBL Moonshine Distillery

Sunday, April 22 – We will meet at the North Visitor center at 9am.  The buddy inspection will start by 9:30am. There are nice singletrack routes in LBL (Land Between the Lakes) too, for those of you that enjoy that kind of riding.  Several trails branch off the Canal Loop Trail, some more challenging than others.  Fire roads split off all along the Trace, so there are plenty to choose from.  Unlike yesterday, there isn’t a planned route – just use the maps and have a good ride.  We’ll plan to meet back at the North Visitor center somewhere around 2pm.

LBL Hike and Bike Trails

LBL Maps – scroll down to the Trail Maps section.

I didn’t know there were 500 miles of trails and 200 miles of roads in LBL. It is great to have this area so close to home.  Not all of the trails are available for bicycling, so check the website while you scout a potential route.

The average high temperature in April is 66 degrees, so good riding temps, but plan on 10-15 degrees plus or minus from that.

Here are some options for lodging and some suggestions for restaurants in the area.

Kenlake State Resort Park Reservations

Lake Barkley Lodge reservations

Both are reasonably priced and are just a few minutes from our starting place.  Kenlake and Lake Barkley both have restaurants too.

Murray has good restaurants, and Paducah to the north has excellent dining choices. One of our personal favorites is Mellow Mushroom in Paducah. Great pizza, and my wife loves the bruschetta.  EDIT:  We ate at the Mellow Mushroom on Monday, February 12th, after looking at houses, and she had the calzone.  The verdict was “thumbs up”.

For breakfast, we’ve been to Hungry Bear Pancake and BBQ House in Murray, and Martha’s Restaurant also. In Paducah, Gold Rush Cafe is one of the best, and Etcetera Coffeehouse is superb. Red’s Donut Shop is not to be missed either for that matter.

Lowertown in Paducah, especially along Jefferson street, has some beautiful homes built in the early 1900s. We’re actually planning to move to Paducah as soon as our Lake Barkley home sells. Etcetera Coffeehouse is in Lowertown, as is Gold Rush Cafe.

If you need bike parts while you’re here, you can head up to Bike World in Paducah, on Joe Clifton road.  They’ll be happy to help you out.

Contact me if you have any questions, I’ll do my best to help.

Some sponsors have graciously agreed to help out.  I have no right to expect anything and I’m immensely grateful for their support.
Chain-L – the best chain lube available


Road ID – a great accessory


PRIZES – Yes, we have prizes too.  They won’t take you out of the amateur ranks, if you’re concerned about that – but they are good ones that will definitely see some use.

Prize #1 – for the rider traveling the farthest to attend the ride.

Prize #2 – for the oldest participating rider.

Prize #3 – for the youngest participating rider.

Prize #4 and 5 – for the first rider to cross the sprint points (there are two) on Saturday’s ride.

Prize #6 – for the best C&V bike, as voted on by the participating riders.

Prize #7 – for the Lantern Rouge on Saturday’s ride.

These two prizes are at FBinNY’s request (the Chain-L guy):

Special #1 – The bike with the most lived in look, meaning the bike that looks like the owner is a rider, not a bike freak.  You lose points for obsessive maintenance, but also for outright neglect.  The ideal is a bike that shows it’s age, and has the battle scars of a long and happy life.

Special #2 – Oldest good bike still in service. This is about buying and riding a good bike, rather than a new bike every year or two.  I offer this because my bikes average over 20 years and 20k+ miles, with the “new” bike dating from 2001, so that’s the kind of thing I want to prize.

Watch your speed while driving in LBL, it’s federal land, so speeding tickets are expensive.

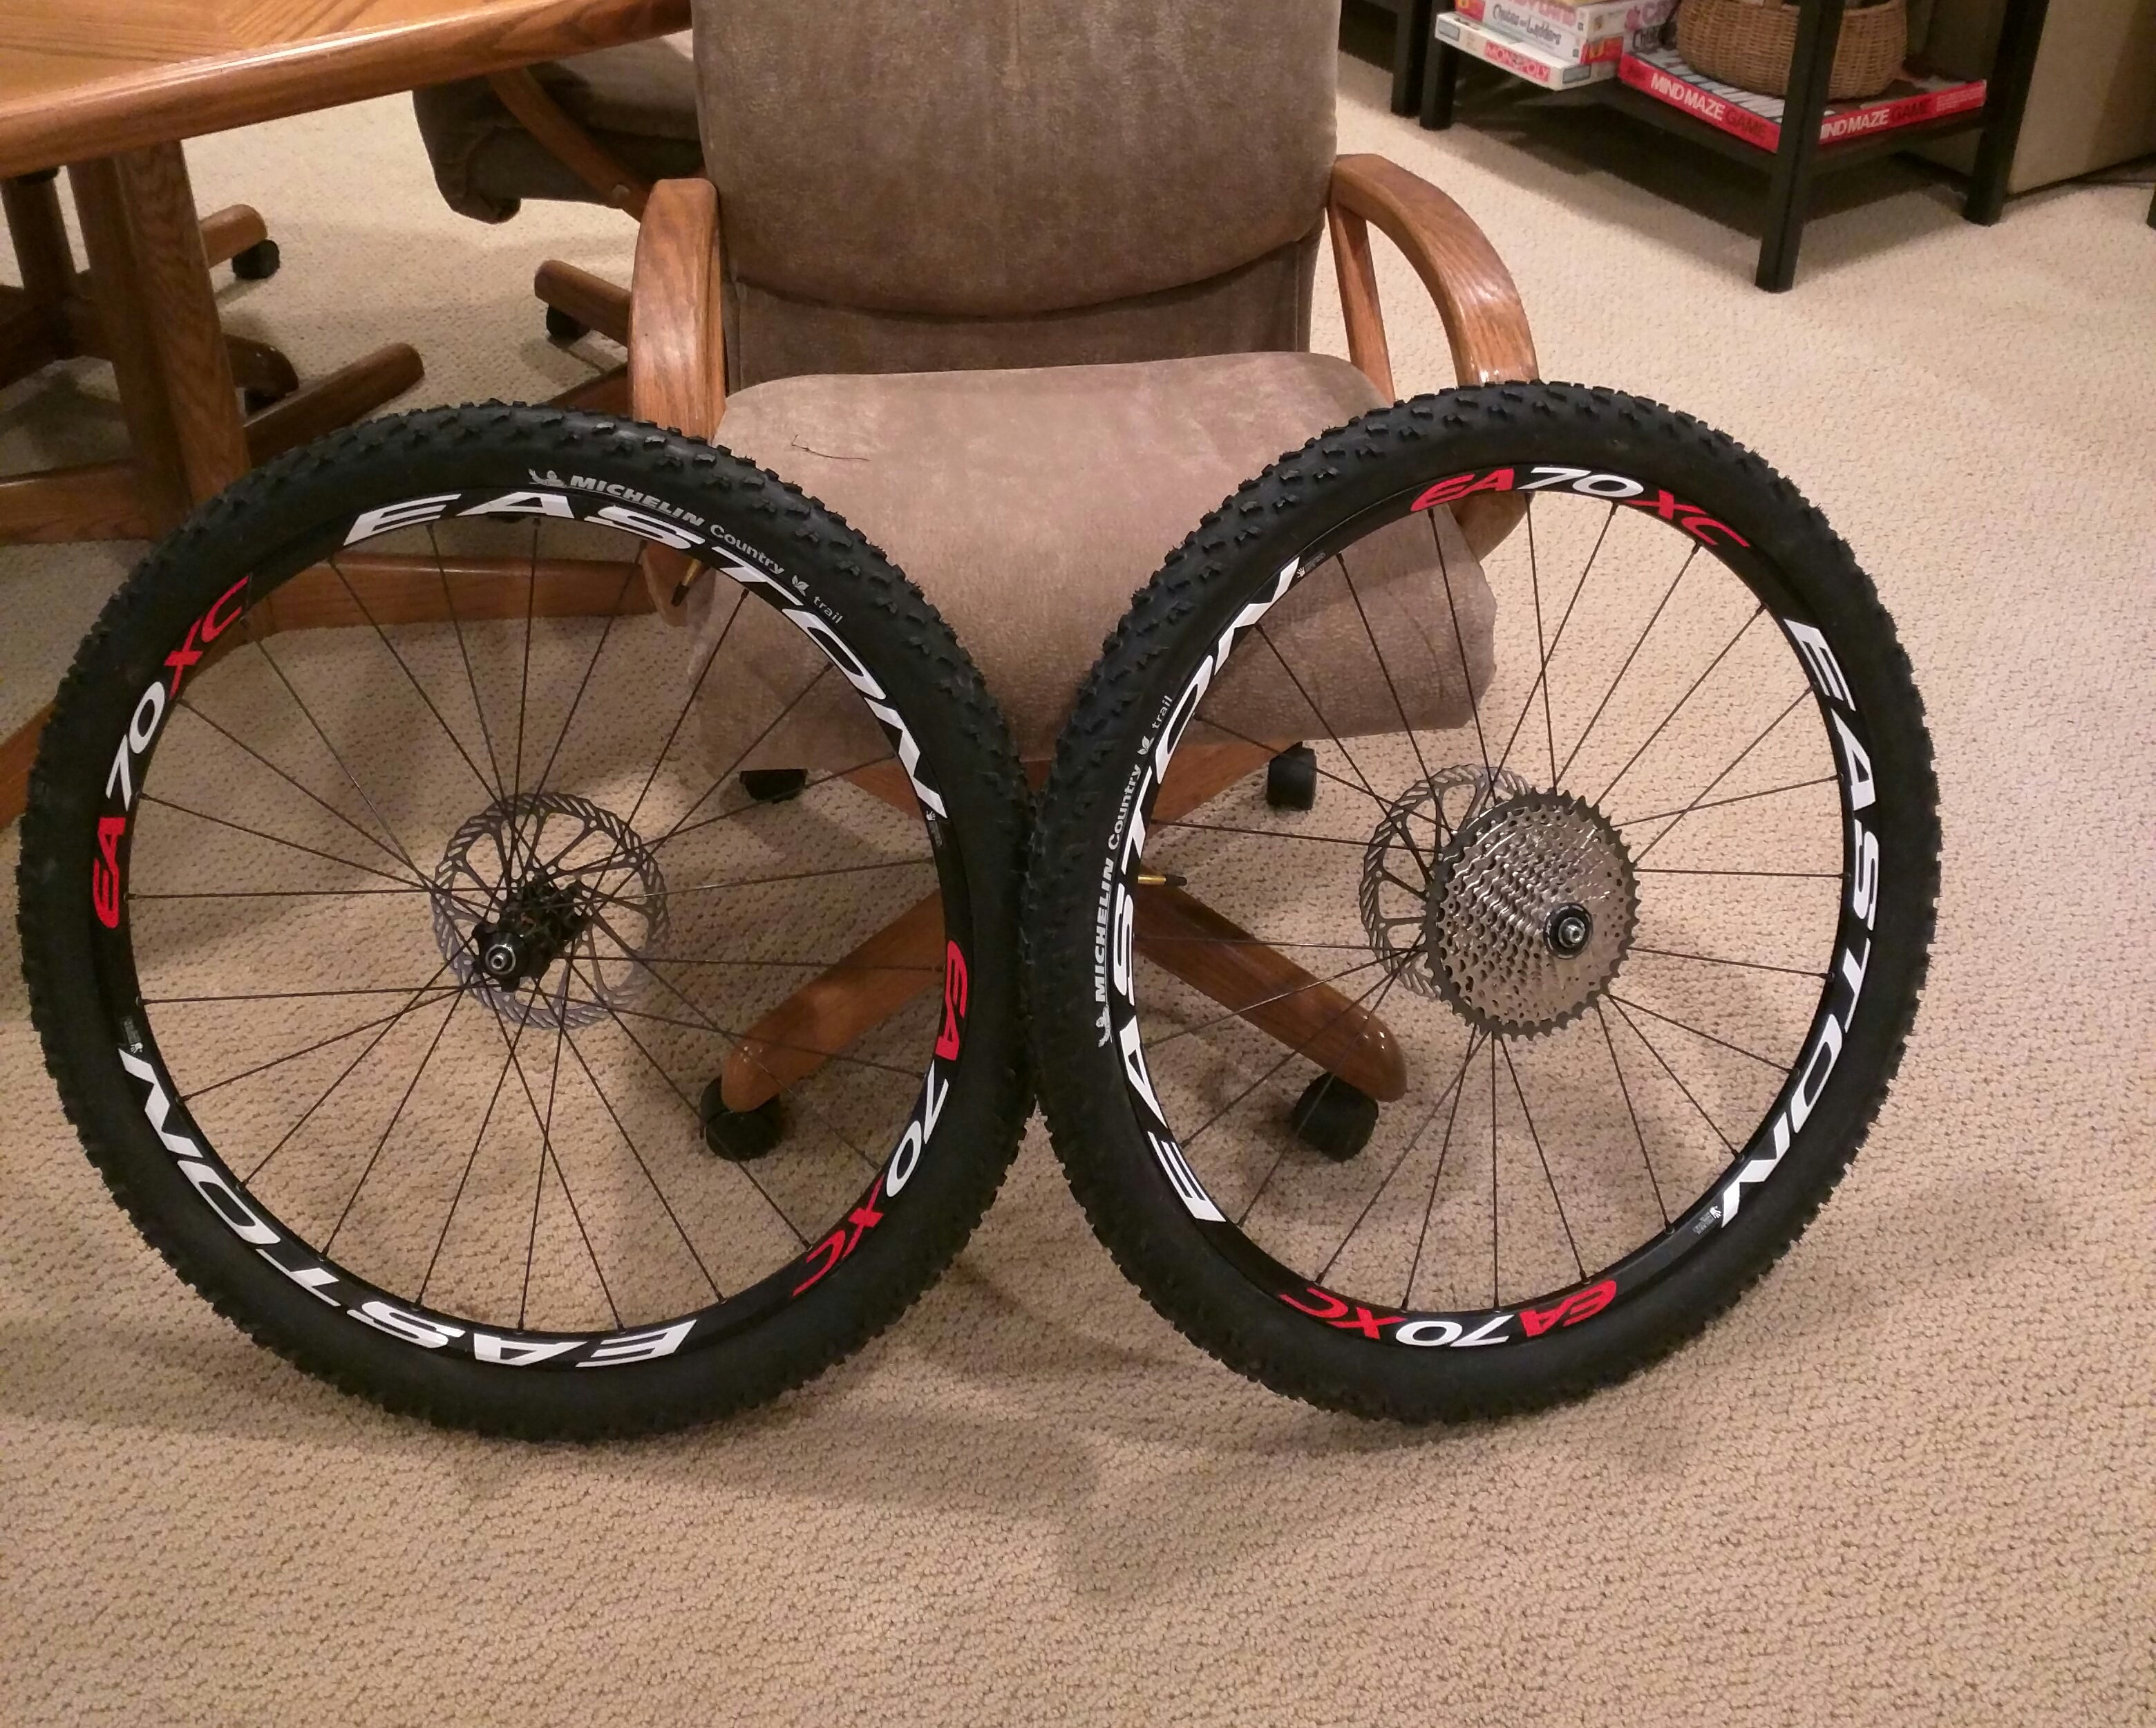
XTC wheels get an upgrade

The tires looked sort of “tired”, and not in a good way, and the new disk brakes came with new rotors.  I removed the 9 speed cassette and installed the 11 speed 11-40 cassette in its place.  Got to use my brand new Park Tool Shimano cassette lockring tool for this.  Pulled the old rotors off and installed the new ones.  I put the wheels in the truing stand, and with a couple of tweaks they are both true laterally and radially.

The new tires have directional arrows molded in, and the front tire rotates backwards compared to the rear (not while moving, you understand).  I presume that’s because the front tire needs the knobs set one way for optimum braking, while the rear tire needs the knobs the opposite way for better bite while accelerating.  Anyway, they’re on and I didn’t even pinch the new tubes.  The labels are at the valve stem, just like the pros.  Maybe I’ve learned a few things while working on bikes.  Maybe I’m just particular.

Regardless, the wheels are rollable.  is that a word?  Capable of rolling?  You get the idea.

Servicing the XTC mountain bike

Well, it’s time to take care of the Giant XTC mountain bike I bought a couple of years ago.  I’ve not ridden it much, but I decided it needs some attention since I plan to ride on the trails during the Bourbon and Tobacco Tour in April.  It would be pretty embarrassing for the ride organizer’s bike to break down, so I’m doing my best to prevent that from happening.

Actually, service probably isn’t the right word.  I’m replacing pretty much everything except the frame, fork, and wheels/hubs.  it will get a new headset, new disk brake calipers, rotors, and levers.  The drivetrain is switching from 3×9 to 1×11, with a Shimano XT-M8000 rear derailleur and a 11-40 rear cassette, and a new Shimano XT crankset with a 32 tooth wide-narrow chainring.  I’ll lose a little top speed, but my top speed isn’t all that fast anyway, and I thought this would be a good opportunity to try a 1×11.  The lowest gear will be a little lower, since the 32-40 gearing is lower than the previous 28-28.

All of the consumables will be replaced – tires, tubes, brake housing and cable, shift housing and cable, and grips.  New disk brake pads come with the new calipers, so technically they’re not being replaced, just superceded.

This bike requires some knowledge I’ve not needed before – disk brakes and 1×11 drivetrain (the derailleur has a clutch too).  The rest is fairly straightforward maintenance, so I’m not expecting the Spanish Inquisition.

But then, no one ever expects the Spanish Inquisition.

All done, or are we?

The more complicated tasks are done now, so we’re on to the final few bits (and bobs, if you prefer the British lexicon) of the build.

NOTE:  Self-fusing silicone tape is great.  Sticks to itself but leaves no sticky residue like other tape.  It doesn’t get slimy in summer heat.  Definitely a good product to use on the handlebars.

Taped the cables to the handlebars using silicone tape in preparation for wrapping the bars.  Wrapped the bars using the Lizardskin 3.2mm tape.  Looks good, has a good amount of padding so should be comfortable to ride.  And to my surprise, there was actually a few inches left over.  It seems like other bar tape has been just barely long enough.  Inserted the plugs and that’s done.

Marked the top on the steerer – need to cut 8mm above the mark.  Removed the front wheel and brake from the fork, and then the fork came off.  Over to the bike shop to have the steerer cut.  They reset the crown race, it wasn’t fully seated.  Picked up a 10mm spacer since the extra spacers I have are for a 1” steerer.   I’m leaving some extra steerer length until the handlebar fit is dialed in, then I’ll cut it to the final length.  No hurry on that task.

Checked the torque on the brake calipers, the derailleurs, the seatpost and saddle clamps, and made sure the shifting is still dialed in.  All good.  Now just need some decent weather for a maiden voyage and some photos.

Remember, without photos it didn’t happen.

Ups and downs

Usually, descending follows climbing, more as a reward for the work of climbing as anything else.  Used the old BB guide and cut the new Campagnolo BB guide to fit, installed the cable guide, cable liner, and the cable runs are clean.  Cut the front derailleur housing (the only housing for the front derailleur), and installed it.  Cut the front piece of housing for the rear derailleur and installed it.  Checked to be sure the housing looks good at lock to lock turns, and it’s good.  Cut the second piece for the rear derailleur.  Shift housing is cut to length, lubed, and installed – cables are run.  Need to set the low limit screws and fasten the cables to the derailleurs.  Then the chain, then adjust the derailleurs.

Clamped the rear derailleur cable and adjusted the high limit by eyeing the jockey wheels and the small cog – close enough for a start.  The low limit can’t be adjusted until I put the chain on, so that the derailleur can be properly spaced away from the large cog using the B screw.  Installed the chain, which needed to be shortened by one link.  This was because the new crankset is a 50/34 compact and the old one was 52/39.

The front derailleur does not shift up or down.  Will have to pull the cable out and see if I can figure out the problem.  Until I can shift to the big chainring, I cannot finish the rear derailleur adjustments.  FIGURED IT OUT!  There are two holes for the cable in the shifter body, and I had the cable in the wrong one.  Once I fixed that the front derailleur shifted fine.  Now I can work on the rear derailleur adjustments.

Was having trouble getting the rear derailleur to shift onto the big cog, so I suspected the derailleur hanger wasn’t straight.  Sure enough, it wasn’t, so I adjusted that and then the rear shifting was easy to adjust.  Installed the pedals, and crimped caps on the cut cable ends.

Now we can change gears for climbing and descending, which is a plus.

Now to finish up the build…

Moving forward by preparing to stop

Moved the handlebars with the brifters installed, and then removed the old bar tape and cables.  Cleaned the old adhesive off the handlebars.

Decided to run the brake cables first.  Replaced the cables, then the housings.  Next is to cut the housing to length, after taping the housing in place on the handlebar.  Remembered to pull hard on the brake levers to be sure the housing is fully seated in the brifters before marking the length and cutting.

Cut the housing and installed the front brake housing and cable.  The front pads were properly aligned so no changes needed there.  Cut the front housing for the rear brake cable and installed it.  Got the rear brake cable and housing done and the brake pads and caliper adjusted.  Used tri-flow to lubricate the cables.

Now on to the shifter cabling…

New bike project hiccup #2

I removed the brake calipers from the CAAD8 frame, but cannot mount them on the Merckx frame.  The reason?  The recessed nut used to attach the rear caliper isn’t long enough for the thicker brake bridge on the carbon frame.  The one for the front caliper might work OK, but the rear one isn’t even close.  I’ve ordered a couple of longer ones, so once they arrive I should be able to mount both brake calipers and then continue with the project.

I can turn the length down on the lathe if they’re too long, but hopefully they’ll just work out OK.  Riiiightt…  That always works for me.

UPDATE: The recessed nut for the rear caliper was about 4mm too long.  Once that extra was removed, the calipers are now both installed and torqued.

There’s always something you hadn’t considered.

New bike project and hiccup #1

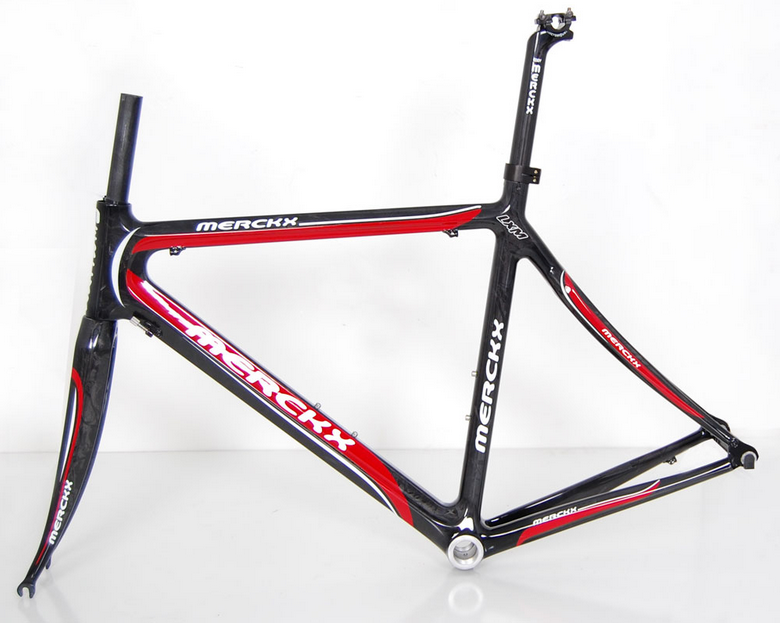
Well, at least a new frame.  I picked up an Eddy Merckx LXM carbon fiber frame a couple of years ago, and now i’m finally getting around to doing something with it.  My plan is to swap the entire Campagnolo group from the CAAD8 frame to the Merckx frame, and along the way to replace the cables/housings, clean up everything, and replace the bar tape as well.  I don’t need many parts for this, mostly consumables like cables and cable guide, plus bar tape.  The existing stem may or may not work with this frame, that will have to wait until it’s actually rideable to make that determination.

Hiccup #1: The bottom bracket shell was English thread, but it appears to have been sleeved to that thread size since all information I could find indicated that it was originally Italian threading.  Also, the shell width was too wide at 70.5mm.  That has to be fixed, since the crankset requires a 68mm shell width.  I wound up at Halcyon Bikes in Nashville, TN, and they took care of facing the shell down to 68mm, and while they had the frame they installed the BB cups and the carbon compact crankset (50/34).  Now that this issue is handled, the rest should go fairly quickly as I have the other bits I need for the swap.

First is to move the brake calipers from the CAAD8 to the Merckx.  next will be the front and rear derailleurs, but I need to take a photo of the cable routing so that I can properly set them up.  next will be the handlebars/stem and I’ll probably leave the brifters mounted exactly where they are.  Wheels are easy enough, and the cables/housings are next.  Finally the seatpost and saddle, and it will be rideable.  I will wait to wrap the bars until I have a few miles, to be sure that shifting and braking are correct before covering up the cables.

My first carbon bike – I’m really interested to see what differences I notice between the stiff alloy CAAD8 and the carbon Merckx.  Time and some miles will tell the tale.